1: Remove the strap fastener (if necessary)
2: Drill the splice, taking the strap mount hole as a base, using a 12 mm wood drill bit
3: Check that the hole has the correct diameter by passing the preamp jack through from the outside
4: Set the depth that will define the remaining length on the outside using the dedicated nut
5: Using a wire or similar, bring the preamp into position
6: Fit the washer and then the nut
7: Then tighten reasonably firmly, keeping the preamp straight in the guitar
8: Remove the saddle, then drill a hole 2.5mm in diameter at both ends of the saddle housing at an angle of about 45° coming out. We recommend removing a thickness of about 1.75mm from the saddle to retain your original action
9: Insert the piezzo carefully, making sure that it is not pinched in the holes. Bend the end (treble side) slightly to ensure a good fit in the dedicated hole
10: After cleaning the bonding surfaces of the under-table cells with paper soaked in F-gasoline, remove the protective films and then bond the cells in the required places. Apply firm pressure to the cell and the soundboard on the outer side simultaneously to ensure a good bond.
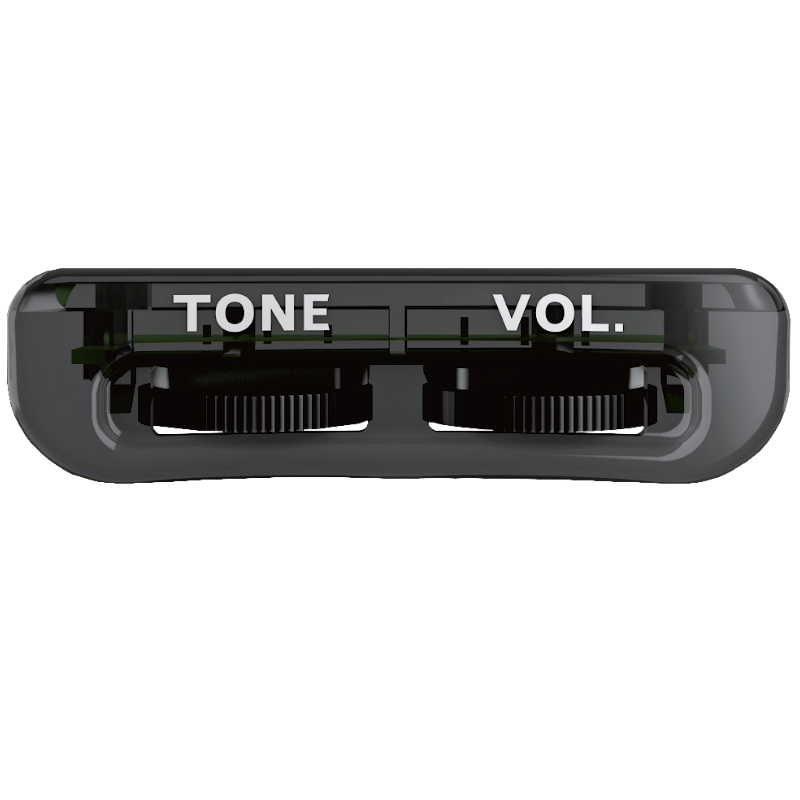
11: Gluing the preamp controls. Clean the bonding surfaces with petrol F, then remove the protective films before bonding. Apply firm pressure to the controls while holding the table outwards
12: Gluing the battery compartment. Insert the battery into its compartment, connect the battery to the dedicated cable, clean the bonding surface with F petrol and remove the protective film before bonding. Apply firm pressure to the battery
13: Before fitting the cable glands, check their position from the outside. Clean the bonding surface with petrol F, then remove the protective film and bond
14: Press the cables into the cable glands, tightening them on themselves
15: Check that the cells are working properly by lightly tapping the soundboard (on table cells) and the saddle, then tune and play!


